Ping Server Locations via WebSocket
Introduction
To determine the most optimal server location for players, we need to measure the latency (ping) from a user’s browser to our various server locations. This guide showcases the advantages of the WebSocket approach we use internally, suitable for any platform or situation where precise user latency is important, such as determining the best server location to play a match on.
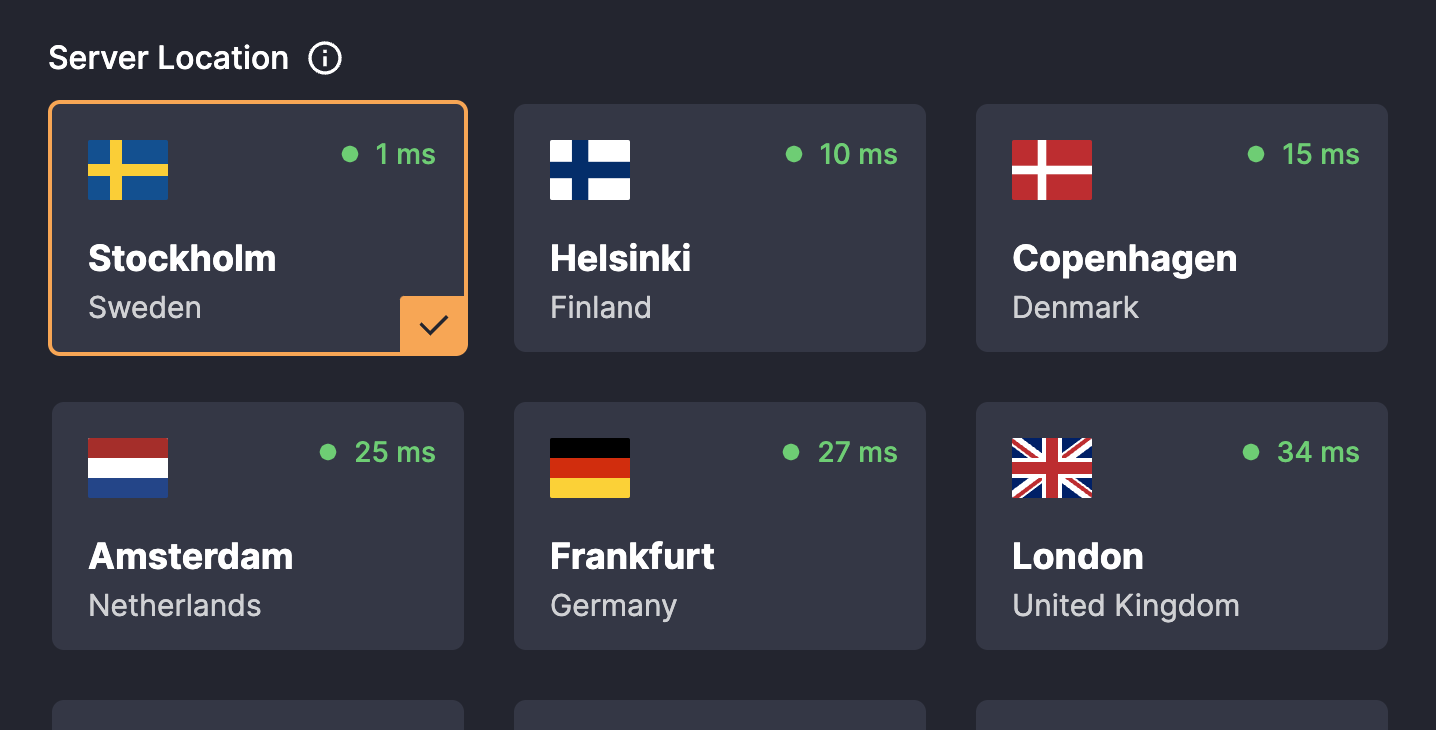
DatHost Dashboard Location Pings
DNS Mapping
To make the process streamlined, each of our server locations has a predefined DNS mapping you can use. For example:
amsterdam.dathost.net will point to our servers located in Amsterdam.
Some location IDs might differ from those visualized in the UI. We have an article that maps each ID to its physical location, you can refer to it here: Server Locations Mapping
Implementation
WebSocket Communication
When connecting to our server via WebSocket, use the following structure:
wss://${location.dns}/console-server/
For instance, for a server in Amsterdam, the WebSocket URL will be:
wss://amsterdam.dathost.net/console-server/
Ping-Pong Mechanism
Upon establishing a WebSocket connection, the client sends a command named datPing. The server, upon receiving this command, will respond with a datPong. This interaction allows the measurement of the round-trip time, which effectively gives us the latency or ping value.
Here’s a Javascript example you can test in the browser console. We recommend pinging each location several times (5 in this example) and then fetching the median value for the most accurate latency representation.
// Server locations to ping (https://dathost.net/reference/server-locations-mapping)
const serverLocations = [
  { dns: 'amsterdam.dathost.net', city: 'Amsterdam' },
  { dns: 'dusseldorf.dathost.net', city: 'Frankfurt' },
  { dns: 'stockholm.dathost.net', city: 'Stockholm' },
  { dns: 'strasbourg.dathost.net', city: 'Paris' }
];

// Function to measure ping for a location.
function doPing(location, webSocket, pingResults = []) {
  const startTime = Date.now();

  webSocket.onmessage = function (message) {
      const decodedMessage = JSON.parse(message.data);
      if (decodedMessage.cmd === 'datPong') {
          pingResults.push(Date.now() - startTime);
          if (pingResults.length < 5) {
              doPing(location, webSocket, pingResults);
          } else {
              pingResults.sort((a, b) => a - b);
              console.log(`Ping for ${location.city}: ${pingResults[2]} ms`);
              webSocket.close();
          }
      }
  };

  webSocket.send(JSON.stringify({ cmd: 'datPing' }));
}

// Establish WebSocket connection for each location.
serverLocations.forEach((location) => {
  const webSocket = new WebSocket(`wss://${location.dns}/console-server/`);
  webSocket.onopen = function () {
      doPing(location, webSocket);
  };
});
Why use WebSocket?
-
Limitations with Javascript
Javascript, which runs in the browser, doesn’t have the capability to send ICMP packets, which are typically used for “ping” commands. This limitation makes it challenging to measure latency directly using Javascript. -
Misleading nature of HTTPS Requests
Relying on HTTPS requests to measure latency comes with pitfalls:- The recorded time includes TLS connections' establishment, which include steps such as key exchanges, increasing overall latency.
- There's additional latency due to HTTP headers and potential redirects.
For those reasons, WebSocket becomes our preferred method. It ensures a continuous, low-latency link between the user's browser and the server, making it the optimal choice for precise latency measurements.
Updated 6 months ago