- Stop & Edit your server
- Locate the Level Seed in the Settings Tab / World
- Enter your custom seed and save the changes
- Remove the existing world folder before restarting the server
Step-by-step
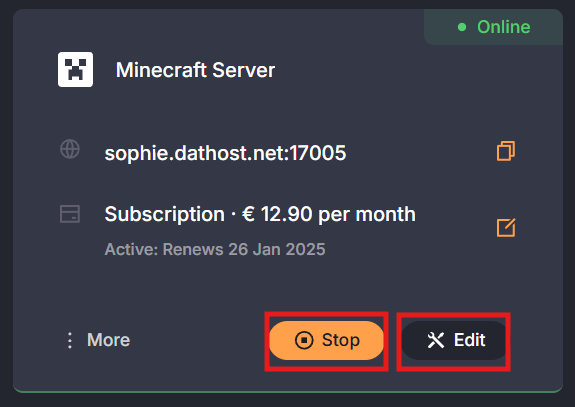
Step 1: Stop & Edit Your Server
First, stop the server in the control panel before making any changes. Then, just click the Edit button to continue.
Step 2: Locate the Level Seed in the Settings Tab / World
Next, go to the Settings tab and check out the World Configuration options. You’ll see the Level Seed there.
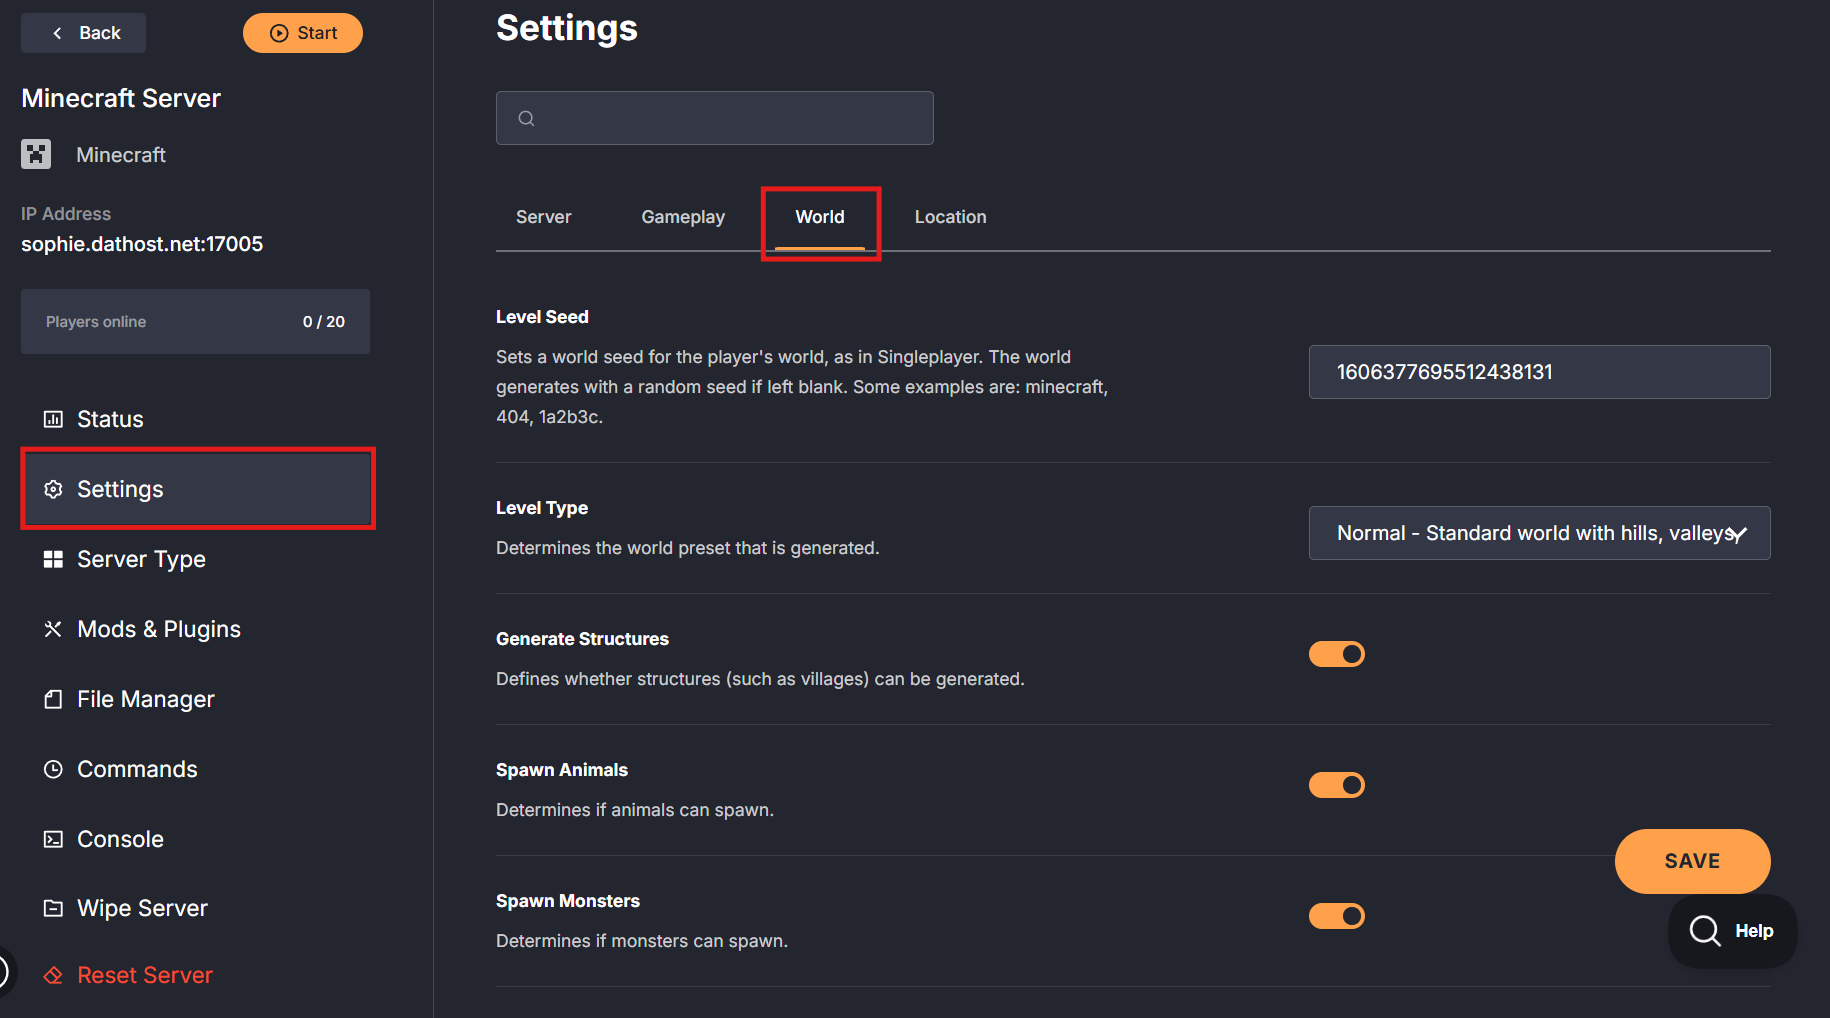
Step 3: Enter your custom seed and save the changes
Type in your custom Seed, click the Save button and go back to your control panel.

Step 4: Remove the existing world folder before restarting the server
Make sure to remove the existing "world" folder before restarting your server to generate a new world with your custom seed. The new seed will apply, and your server will generate the world with it the next time it starts.
Frequently Asked Questions
You can find seeds online from the community. Check out forums, Minecraft seed websites, or social media.
Yes, stopping the server before making changes ensures that the new seed is applied correctly when the server restarts.
If you don’t enter a seed, the game will generate a random one, creating a default world with no specific features.