When you turn on the whitelist, only players you add are allowed to connect. This keeps your server safe from random players, troublemakers, or hackers.
How to Enable the Whitelist
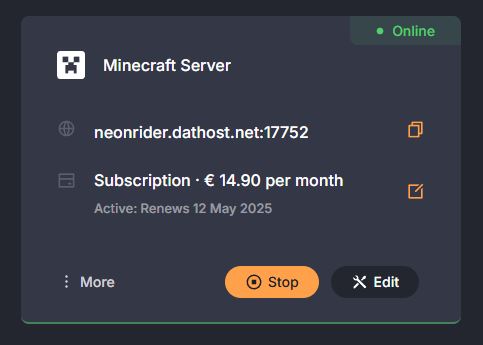
1.Go to your DatHost control panel & Edit your Minecraft server.
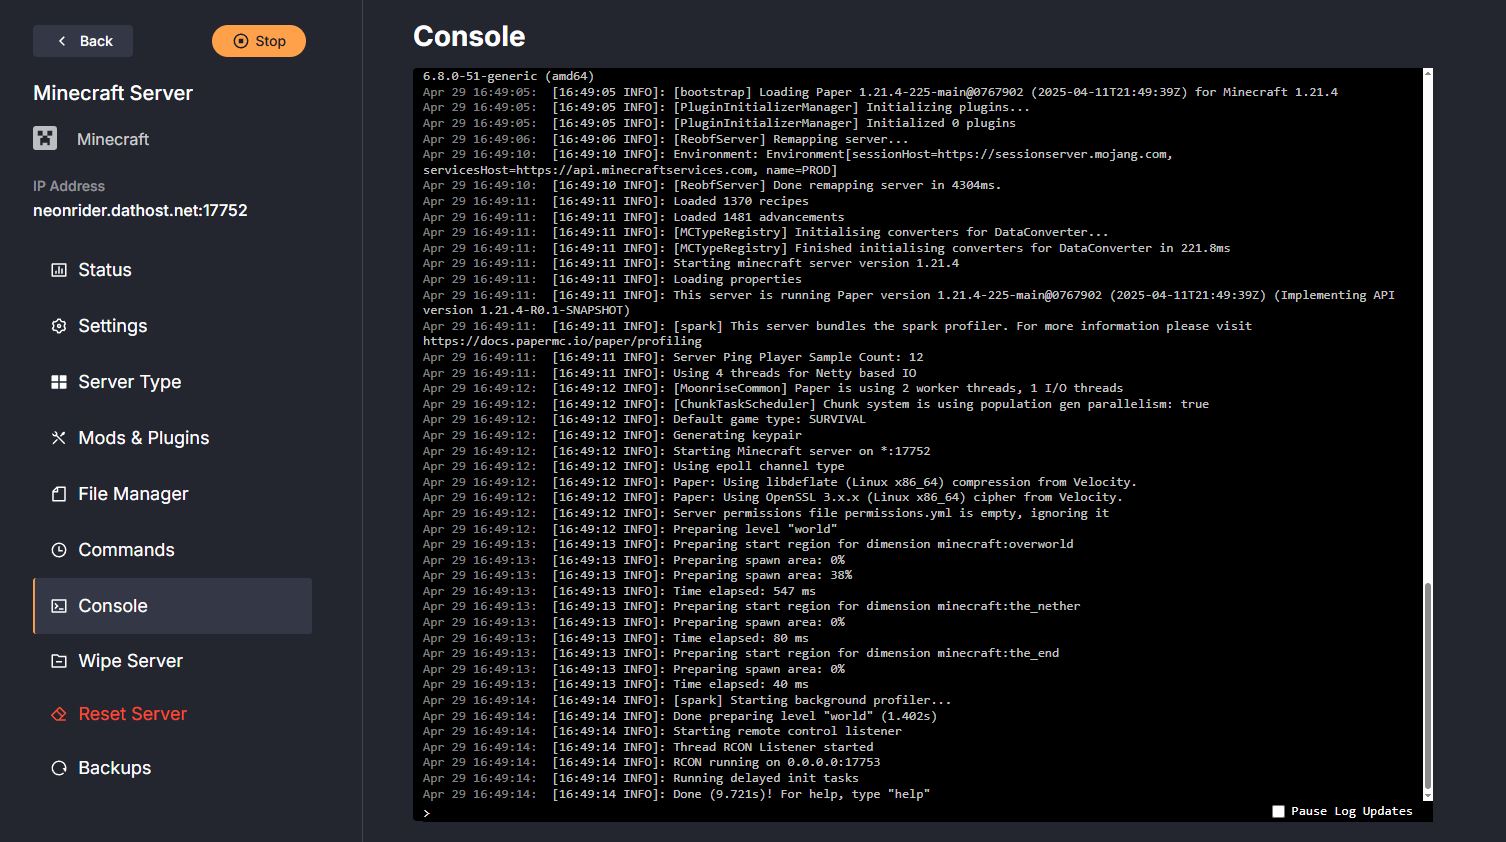
2.On the left side, click the Console tab.
3.Type whitelist on to turn on the whitelist.

4.To let someone join, type: whitelist add playerName (Replace playerName with their Minecraft username.)

5.Once the Minecraft whitelist is on, only the players you’ve added will be able to join. This makes your server safer, more fun, and just for the people you trust.
Most Popular Minecraft Whitelist Commands
| Command | Description |
|---|---|
whitelist on | Enables whitelist mode — only listed players can join. |
whitelist off | Disables whitelist mode — anyone can join the server. |
whitelist reload | Refreshes the whitelist if you've made changes. |
whitelist list | Displays all players currently on the whitelist. |
whitelist add <playerName> | Adds a player to the whitelist. |
whitelist remove <playerName> | Removes a player from the whitelist. |
Frequently Asked Questions
Yes. If you’re running a private server and want to stay off public lists, make sure you don’t advertise your IP and configure the server.properties file to reduce visibility.
A whitelist allows only specified players to join, while a ban list blocks certain players. Whitelisting is proactive control, while banning is reactive.
Double check the spelling of their username, ensure the whitelist is enabled, and have them restart their game. You might also need to reload the whitelist using whitelist reload
To create a server for friends only, enable the whitelist, add only your friends’ usernames, and avoid sharing your server IP publicly or posting it on forums or server lists.