
Whether you're excited to play with friends or create a vibrant gaming community, setting up a dedicated server opens up a world of possibilities. Let's get started and have your 7 Days to Die server up and running in no time!
- Install and open 7 Days to Die once, then install "7 Days to Die Dedicated Server" via Steam.
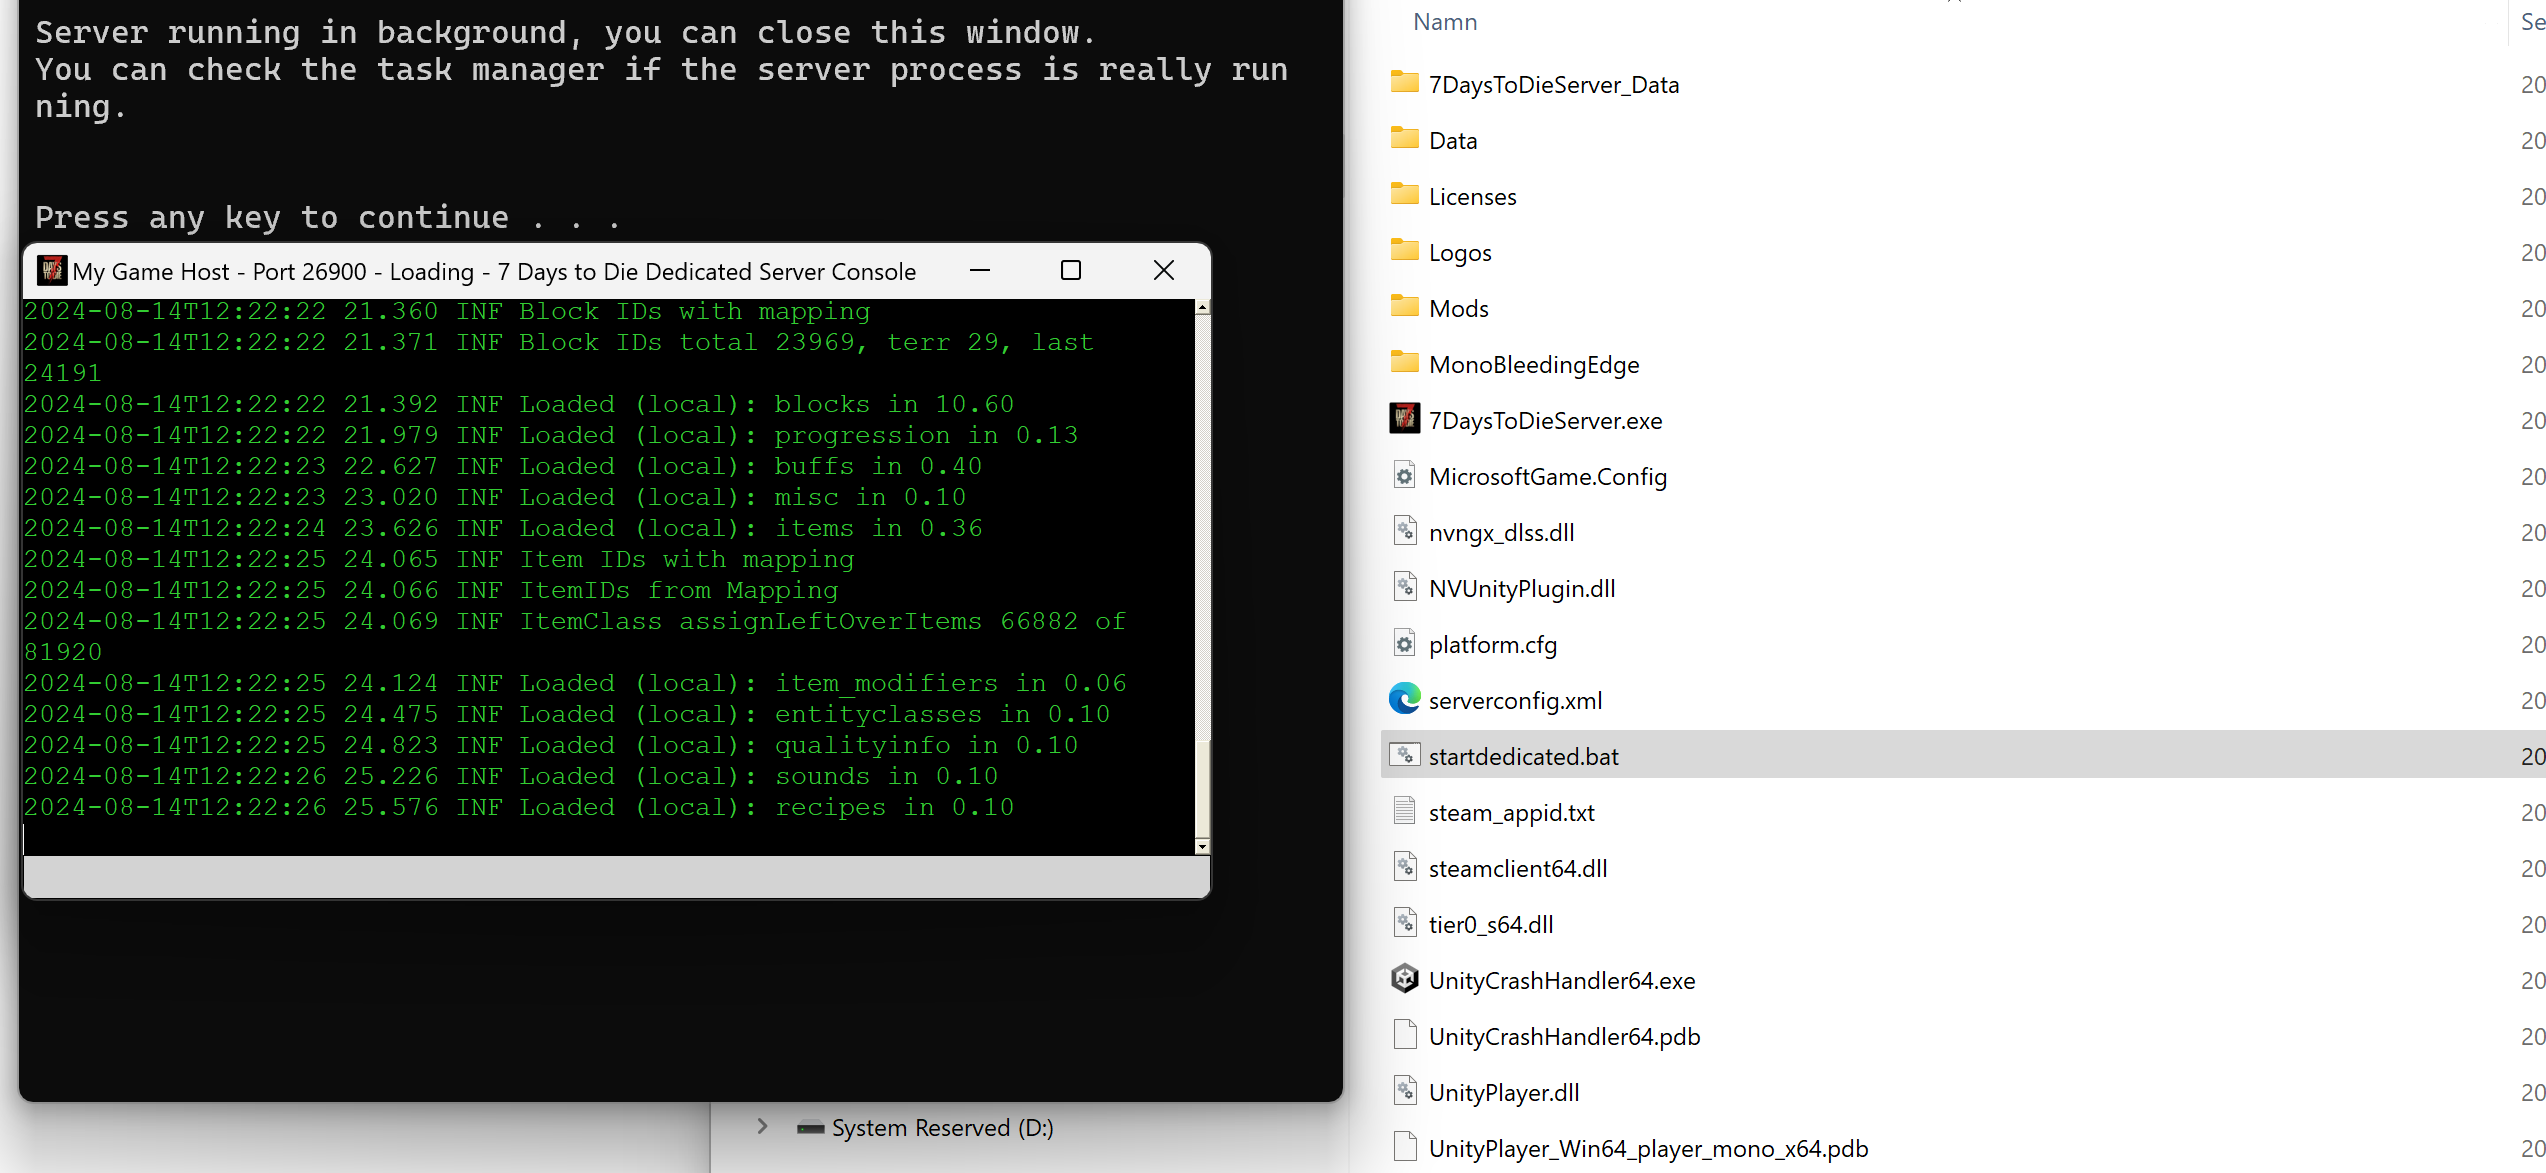
- Run the
startdedicated.batfile in the server's installation folder. - Open the game, click "Join a Game," and choose "Connect to IP."
- Enter IP
127.0.0.1and port26900to connect.
Step-by-step
- Install and open 7 Days to Die at least once.
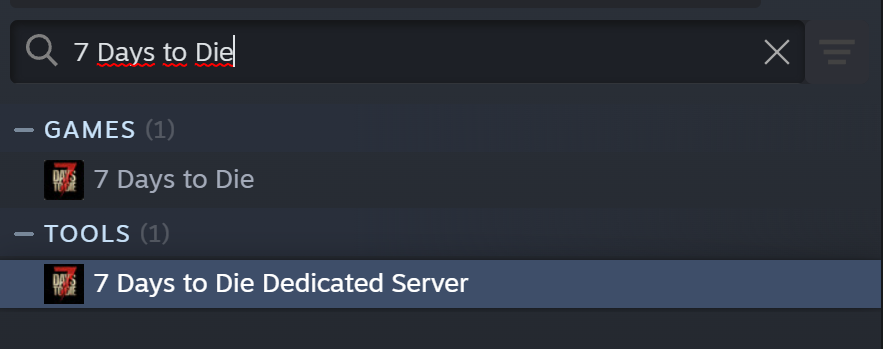
- Open Steam on your PC and click the tab Library in the top-header.

- Search for "7 Days to Die" in the library's search bar.
Install the option 7 Days to Die Dedicated Server.
- Go to the folder where you installed the 7 Days to Die Dedicated Server.
C:\Program Files (x86)\Steam\steamapps\common\7 Days to Die Dedicated Server
- Now, start the server by starting the startdedicated.bat file.
Let the server start fully.
- Start the 7 Days to Die game, and connect by the following steps:
Click Join a Game, then click Connect to IP.
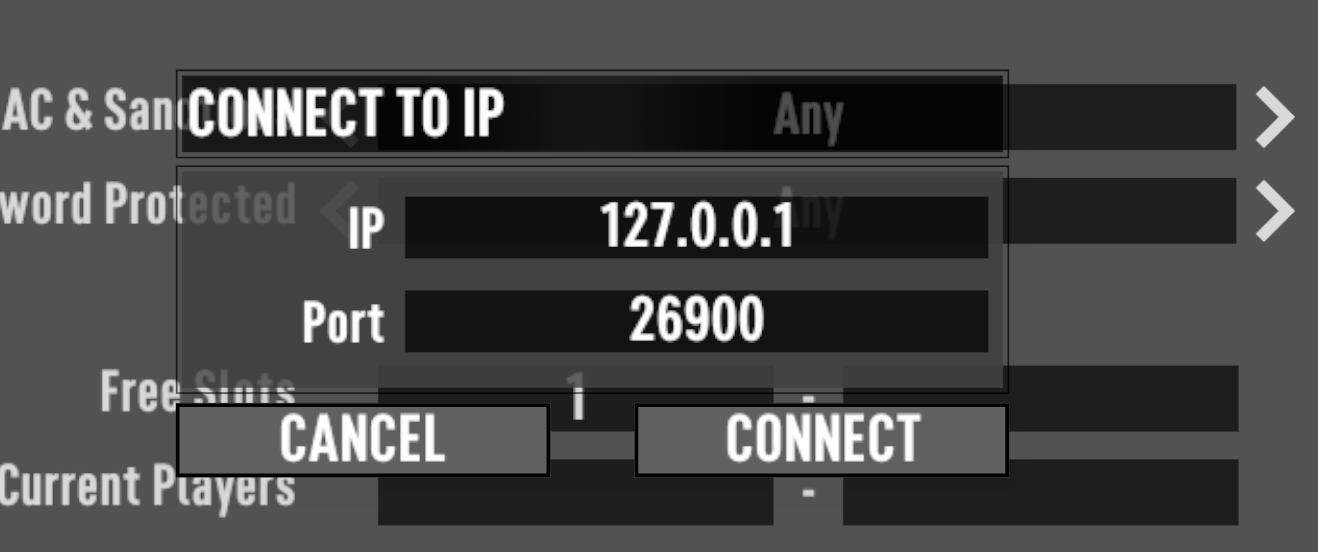
- Enter the server details. The default IP for a locally hosted server is 127.0.0.1 and the port is 26900. Hit connect and you are in.
- Happy gaming!
Frequently Asked Questions
Yes, you must install and open 7 Days to Die at least once before setting up the dedicated server. This ensures that all necessary game files are properly configured.
You can find the "7 Days to Die Dedicated Server" installation option in your Steam Library. Simply search for "7 Days to Die" and select the dedicated server option from the results.
Navigate to the installation folder, typically located at C:\Program Files (x86)\Steam\steamapps\common\7 Days to Die Dedicated Server. Run the startdedicated.bat file to start the server.
The default IP for a locally hosted server is 127.0.0.1, and the port is 26900. Enter these details when connecting via "Join a Game" > "Connect to IP."
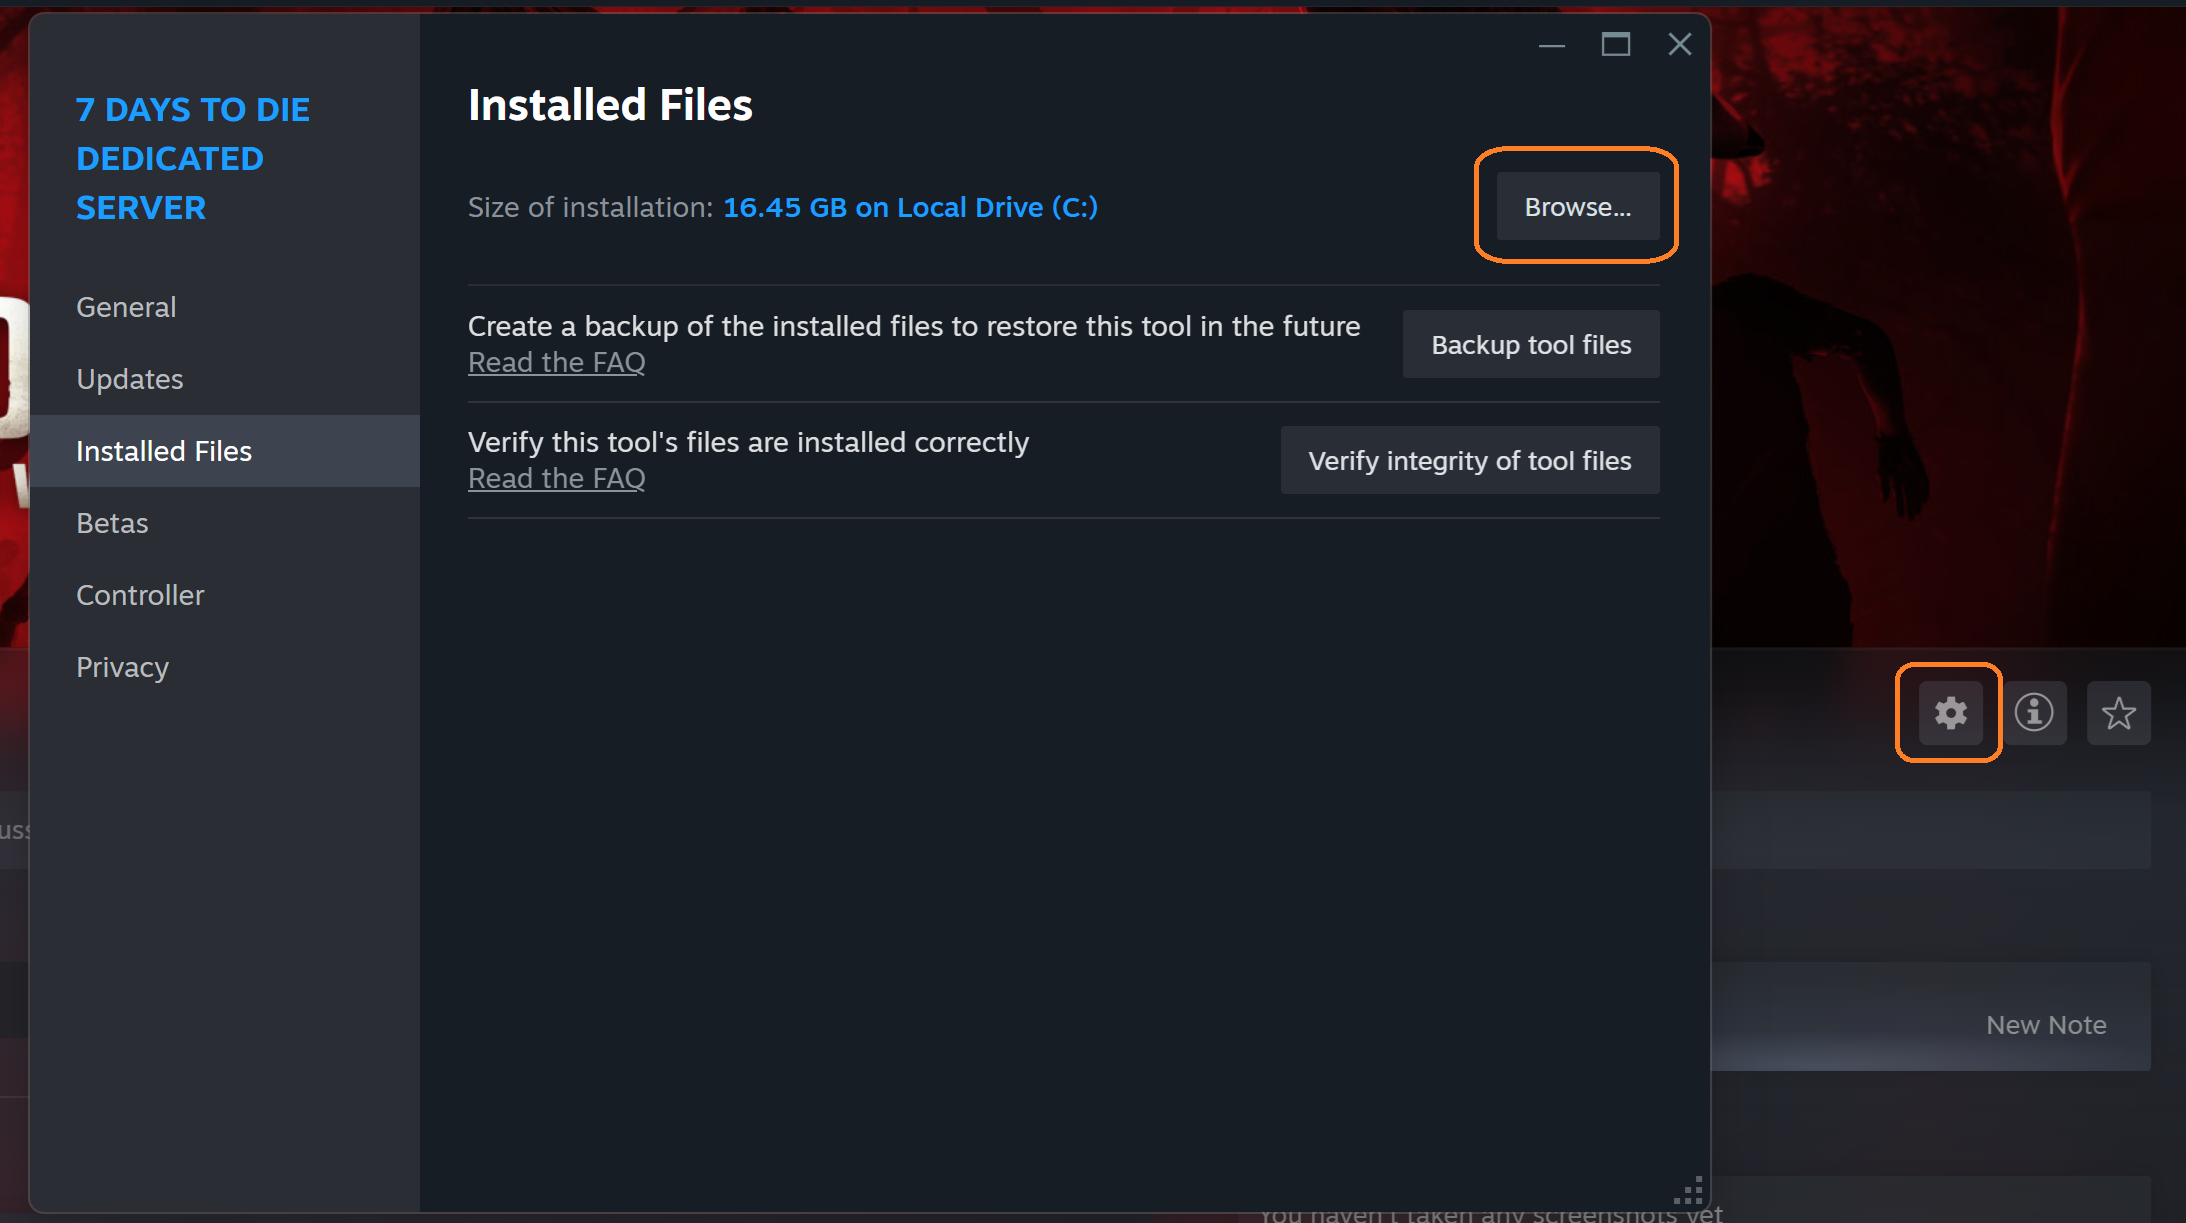
Yes, you can customize the server settings by editing the serverconfig.xml file located in the dedicated server's installation folder. Be sure to save your changes before starting the server.
Your friends can join by entering your public IP address and the server port (26900 by default) in the "Connect to IP" section of the game. If they are on the same local network, they can use the default IP 127.0.0.1.
Double-check that all files are correctly installed and that your firewall or antivirus software isn't blocking the server. You can also try verifying the integrity of the game files through Steam. If issues persist, consult the official 7 Days to Die forums or support channels for further assistance.